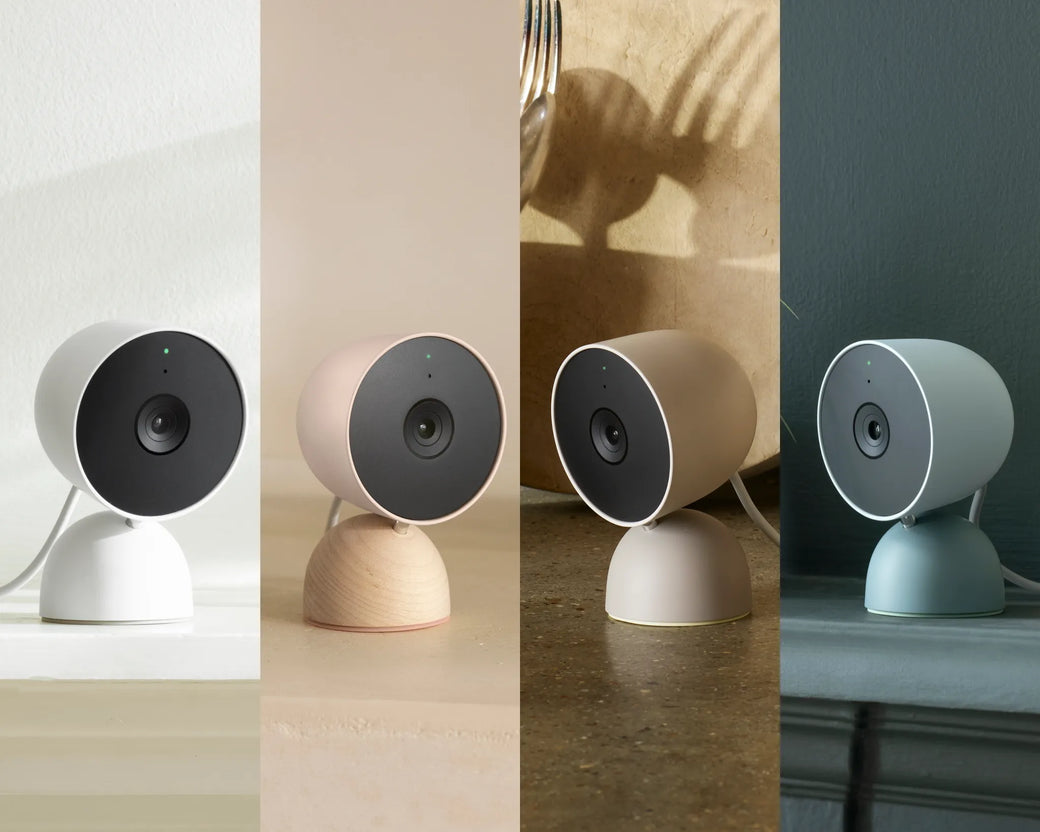
Comprehensive User Guide to Setting Up Your Google Nest Cameras

Comprehensive User Guide to Setting Up Your Google Nest Cameras
Google Nest Cameras are an excellent addition to your smart home, offering advanced security features and seamless integration with your devices. Whether you're setting up a new Nest Cam (battery) or a Nest Cam with Floodlight, this guide will walk you through every step of the process. With easy-to-follow instructions, troubleshooting tips, and links for further assistance, you’ll have your camera up and running in no time.

Step 1: Prepare for Setup
Before mounting or installing your Google Nest Camera, ensure you complete the setup process through the app. This involves scanning the QR code on your device to connect it to your account.
Determine Which App to Use
Your Nest Camera model determines whether you’ll need the Google Home App or the Nest App:
- Use the Google Home App for:
- Nest Cam (wired)
- Nest Cam with Floodlight
- Nest Cam (battery)
- Use the Nest App for:
- Nest Cam IQ Indoor
- Nest Cam IQ Outdoor
- Nest Cam Indoor
- Nest Cam Outdoor
Download the required app:
- Google Home App
- Nest App
Step 2: Add Your Camera to the App
Using the Google Home App
- Download and install the Google Home App from the Apple App Store or Google Play Store.
- Sign in with your Google Account.
- Tap Devices ➡️ Add ➡️ Google Nest or partner device.
- Choose the home where you want to set up your camera, or create a new one.
- Select your camera model when prompted.
- Scan the QR code on your camera using your phone’s camera. If unavailable, tap "Continue without scanning" and enter the setup code manually.
- Find your QR Code guide
- Follow the app instructions to complete the setup.
Using the Nest App
- Download and install the Nest App from the Apple App Store or Google Play Store.
- Create a Nest account if you’re a new user. Existing users can log in and select the appropriate home for the setup.
- Tap Add Product on the app home screen.
- Scan the QR code on the back of your camera or enter the code manually.
- Follow the app’s instructions to finish the setup.
Step 3: Install or Mount Your Camera
Once your Nest Camera is set up in the app, proceed with the installation. Follow these step-by-step instructions to mount your camera securely.
Installing Nest Cam (Battery)
- Use the included wall mount or purchase the optional Nest Cam stand for indoor use.
- Installation Video for Nest Cam (Battery)
Using the Secure Loop
For cameras mounted higher than 6.5 ft (2m), use the secure loop accessory to prevent falls.
- Screw the loop into the camera’s base.
- Attach the loop to the magnetic mount.
- Tighten the loop securely.
- Place the camera on the magnetic plate.
- Check the camera’s view through the app.
Using the Weatherproof Cable
For continuous power outdoors, connect the weatherproof cable to the camera. It’s available in 16 ft (5 m) or 33 ft (10 m) lengths. Purchase Weatherproof Cables.
Installing Nest Cam with Floodlight
- Ensure the power is turned off at the breaker before starting.
- Use the included screws to mount the floodlight.
- Follow the app instructions to connect the camera’s wires to your home’s wiring.
- Adjust the floodlight settings through the Home app.
- Installation Video for Nest Cam with Floodlight
Installing Nest Cam (Wired)
- Place your camera on a flat surface or wall-mount it with screws.
- Installation Video for Nest Cam (Wired)
Step 4: Troubleshooting Common Issues
Connection Issues
If your camera fails to connect to Wi-Fi:
- Retry the connection after a few minutes.
- Move the camera closer to your router.
- Restart your Wi-Fi router.
- If using a hidden network, enter the SSID manually. Wi-Fi Troubleshooting Tips
Power Issues
If the camera doesn’t turn on:
- Verify the power outlet or cable is functioning.
- For battery-powered cameras, ensure the battery is fully charged.
Video Quality Issues
If you experience delays, blurry video, or distortion:
- Improve your Wi-Fi signal by reducing interference or moving the router closer.
- Dust the lens and adjust the camera angle to avoid direct sunlight. Video Troubleshooting Guide
Additional Resources
- Interactive Troubleshooting Tool
- Protect Your Privacy Guide
Final Thoughts
Setting up your Google Nest Camera is a simple process when following the correct steps. With this guide, you’ll have everything you need to connect, install, and troubleshoot your camera. For further assistance, visit the provided resources or contact Google Nest Support.
Transform your home security with Google Nest Cameras—ensuring peace of mind and seamless monitoring at your fingertips. For more smart home solutions, explore our offerings on transupgrade.com.
This blog has been crafted to deliver an easy-to-follow user guide for your audience. It incorporates all relevant details and links to ensure a comprehensive experience. Let me know if you'd like further customization!

